.png?height=120&name=OmniByte%20-%20PNG%20Black%20Logo%20Oct%202021%20(1).png)
How to use the Roles page
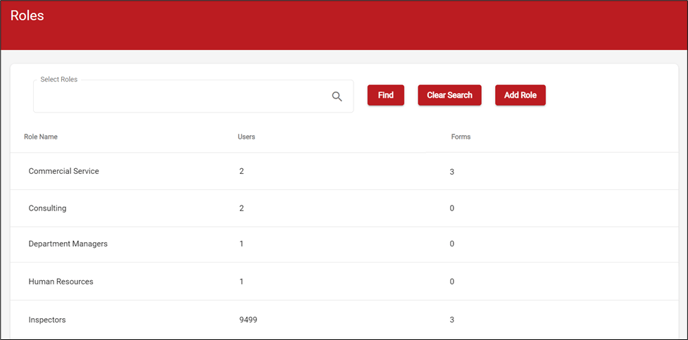
Forms are all role-based. Roles provide the app user access to a form. This means a user has to be assigned a role in order to use a form and a form has to be assigned a role in order for a user to use the form on their device. Controlling who can access forms and manage responses is helpful when handling multiple users and even sensitive information. Use the Roles page to view information about a role including the number of users and number of forms assigned to a role. If you need to add a role, see Adding Roles.
Things to keep in mind when using roles:
- A role name can be edited, even if there are users and/or forms assigned to the role.
- A role can be deleted.
- Users and forms can be added and removed from a role. Once you click Save, the Roles page reflects the number of users and forms assigned to a role.
- If you click the Users or Forms tab in the Edit Role window, the Assigned Users option is toggled on. Use the Edit Role window to add and remove users and forms quickly. You can make changes to a role without having to open each user record and every form.
- From the Administration menu, click Roles to open the Roles page.
- Click
 (Select Roles lookup) to open the Select Roles window.
-
If there is a role you want to view details about that you can see in your list, just click on it to view the details or make edits to that specific role. If you don't see the role, in the Search field, enter the role(s) for which you want to view information. Then select the role(s) from the list. Or you can click on each role displayed. Click Done.

- The roles you selected appear in the Select Roles field on the Roles Page.
- Click Find to display the role details.

- You can click on each role in the list to open the Edit Role window and view the details about the role, including users and forms assigned to it.
