![OmniByte - PNG Black Logo Oct 2021 (1).png]](https://help.omnibyte.com/hs-fs/hubfs/OmniByte%20-%20PNG%20Black%20Logo%20Oct%202021%20(1).png?height=50&name=OmniByte%20-%20PNG%20Black%20Logo%20Oct%202021%20(1).png)
IFS Cloud data maps allow you to integrate form data with IFS.
- Open the form for which you want to create a data map.
- Click on
 (Connect), then choose Data Maps to open the Data Maps page.
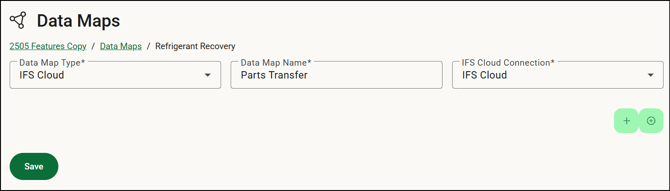
 - Click + Add to open the Data Mapping window.

- Select IFS Cloud as the data map type, then name your form map. This is the name for the set of information you’re mapping. Because you can create multiple maps for each form, use a name that helps you identify the information in the map. Select the IFS Cloud connection that was set up in the Data Connections window.
- Click
 (Add Step button) and/or
  (Add Step Group button) to complete the data map steps.
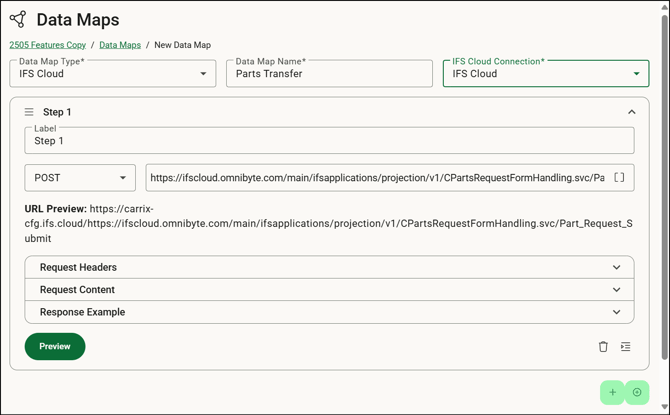
- Enter a label for the step. It is helpful to be descriptive with step labels. They are used in the Data Maps Log.
- Select the purpose of the data map. If it is intended specifically for handling media attachments, select Attach Media. This option ensures that only newly added media files are included in the data map. When selected, any media originating from the IFS Cloud gallery (such as previously stored or pre-filled attachments) is excluded from the data map. This allows you to focus solely on media captured or uploaded during the current form submission, preventing existing files from being reprocessed or duplicated. If it is for report attachments, select Attach Report. Enter the LuName, KeyRef, Document Class and Document Format. Otherwise select the HTTP verb method and enter the request URL. Consult the documentation for your endpoint for guidance on which HTTP verb should be used. Click
 to select a merge field to include, if applicable.
 - Enter authentication information and insert the form merge fields.
- If your form has a repeatable group, or a dynamic table with rows/groups in them, you may need to "tell" the map to iterate (loop) over each row/group and send the data individually to an endpoint in IFS Cloud. Select the iteration target to specify which part of the data structure should be iterated over during the mapping process. It indicates where the repeating elements begin and end.
- If you want to preview the information that is going to be sent, click Preview to open the Preview window.
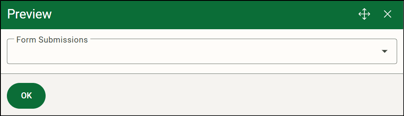
- Select a form submission and the JSON of what will be sent when the data map executes will be displayed. Any errors that may occur for the data map is displayed too.
- Click Save to save the data map information.
Your map is set up and you can complete the integration in IFS. When forms are submitted, you should see data from the form appearing in the IFS Cloud. - View the Data Maps Log to ensure the data map ran successfully. We recommend that you specify an email to send the Data Map event error log reports to ensure the right personnel is aware of the errors and failures.