.png?height=120&name=OmniByte%20-%20PNG%20Black%20Logo%20Oct%202021%20(1).png)
How to use message templates
Use the Message Templates page to add your own subject and email to contactless signature messages. By changing the email’s subject and adding custom text, you can be sure customers know it’s from your company and technicians, ensuring that it’s a safe email to open, click and sign.
Message templates are not modified on a form-by-form basis. They apply to all emails sent for the email type.
Setting up a Message Template for Emails
- From the Configuration menu, click Message Templates to open the Message Templates page.
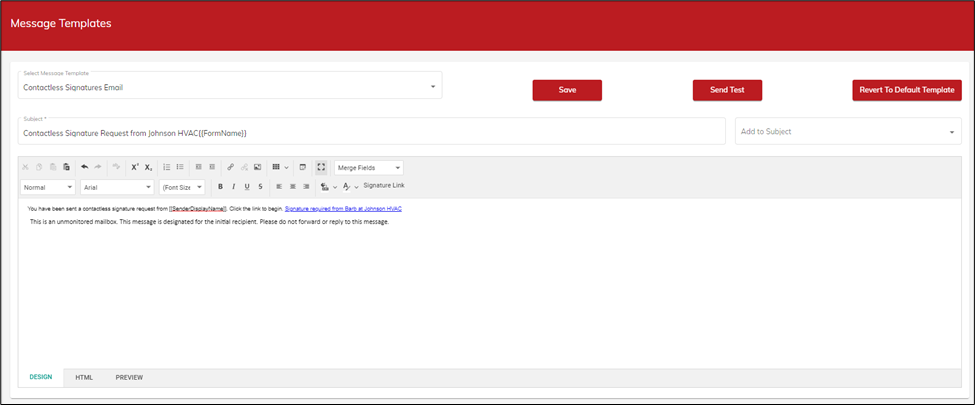
- Select Contactless Signatures Email from the Select Message Template list.
- Enter a subject you want to appear in the Subject line of the recipient’s email box or use the default: Contactless Signature Request. You can then select fields as merge fields to add to the subject line: Sender Display Name or Form Name. We recommend adding your company name in the subject also.
- Enter the message body text. You can also select fields as merge fields to add to the message body: Sender Display Name or Form Name.
-
To add more credibility to the message, you may want to add your company logo. Send a test message to ensure the logo is sized and placed as designated.
We suggest you add something to the end of the message to prevent users from replying or forwarding the message. For example:
“This is an unmonitored mailbox. This message is designated for the initial recipient. Please do not forward or reply to this message.”
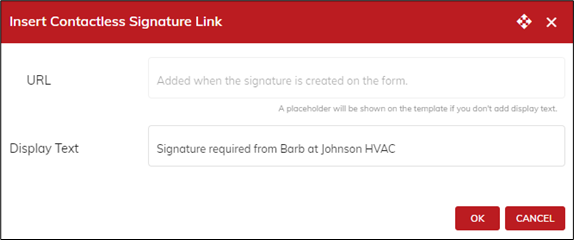
- Click the Signature Link button to open the Insert Contactless Signature Link window. The URL is created when the signature is created on the form. If you want to enter your own text to display for the link, instead of the URL, enter that in the Display Text Click OK and the URL or display text will appear in the message body. If you choose to use your own display text, we recommend that you delete the “ContactlessSignatureLink” default link in the message body so that 2 links are not sent.
- Click Save to save the message template.
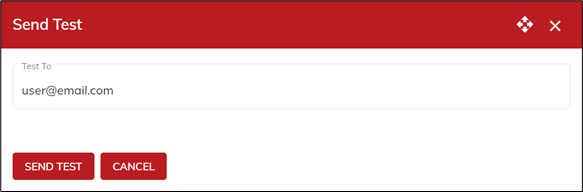
- Click Send Test to open the Send Test window where you can enter an email address to send the test email to. If it’s sent successfully, you will receive a message and the user will receive a test email that shows what the email looks like.
Click Revert to Default to change all entries for the message template back to the defaults.