![OmniByte - PNG Black Logo Oct 2021 (1).png]](https://help.omnibyte.com/hs-fs/hubfs/OmniByte%20-%20PNG%20Black%20Logo%20Oct%202021%20(1).png?height=50&name=OmniByte%20-%20PNG%20Black%20Logo%20Oct%202021%20(1).png)
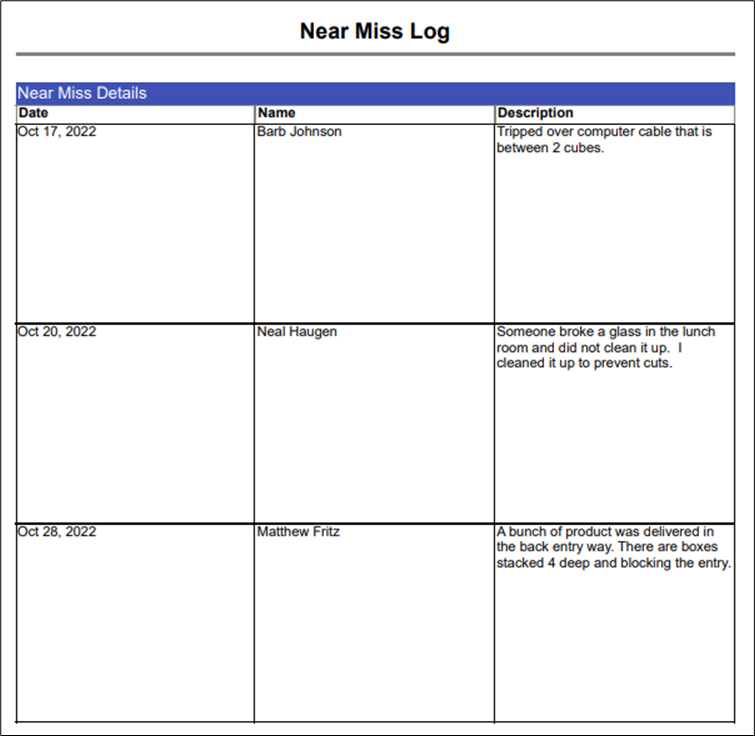
There may be instances when you have a table cell on a report that needs adjusting, so the table rows are uniform in height. In the following example, you can see that the Description column contains more information than the other columns on the report, which can make the report disorganized and hard to read.
To format the table so the height is uniform, complete the following:
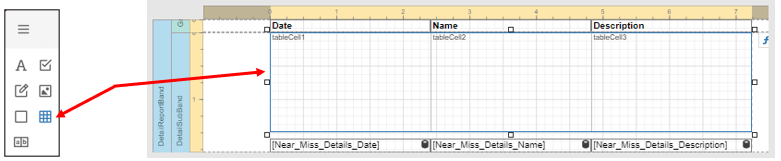
- Open the Report Designer and double-click on the sub-report (Near_Miss_Details in this example) then increase the size of the design surface. We suggest moving the original table cells to the bottom of the design surface to make it easier to format.

- From the Toolbox on the left-hand side of the Report Designer, drag the Table control onto the sub-report and increase the size of the table as needed.
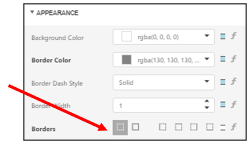
- Click on each original table cell and use the Appearance properties panel to remove the borders from those table cells.
- Drag each original table cell into the new table cell and size accordingly.
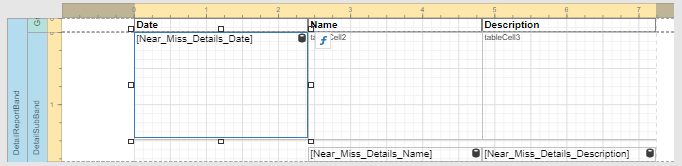
- Use the Appearance properties panel to add borders around the new table cells.

- Once you are satisfied with the formatting, save then close the sub-report.
- Click
 (Save) in the Form Designer to save your changes.
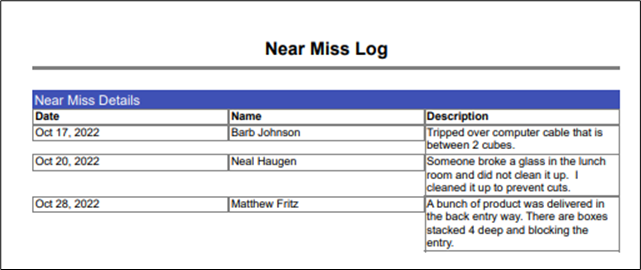
 - Now when your print the report the table cells are uniform in size.