![OmniByte - PNG Black Logo Oct 2021 (1).png]](https://help.omnibyte.com/hs-fs/hubfs/OmniByte%20-%20PNG%20Black%20Logo%20Oct%202021%20(1).png?height=50&name=OmniByte%20-%20PNG%20Black%20Logo%20Oct%202021%20(1).png)
You can control how cells in a table behave—making them enabled, required, or read-only—based on cell conditions.
This procedure describes how to enable a cell.
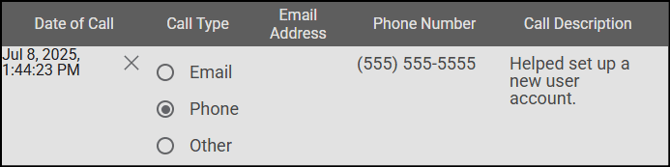
Let's say you have a dynamic table on a form for tracking support calls. This dynamic table contains the date of the call, the call type, call description and depending on the call type, an email or phone number. The following procedure provides the steps to make a table cell enabled based on this example:
- On the form, from the Actions/Containers menu, click Dynamic Table.
- The dynamic table is added to the form. Next to the Column 1 Label, click
 , then Insert Column. Insert additional columns so the dynamic table has a total of 5 columns.
- Click on the dynamic table input. In the Label field, enter Support Log.

- Back in the Form Designer, enter Date of Call in the Column 1 Label field and select Date/Time Stamp as the field type.
- Enter Call Type in the Column 2 Label field and select Radio as the field type. Click
 (Edit) for this radio type then expand Input Options.
 - Click
 to open the Options window. Enter Email, Phone and Other as the options, then click OK.
- Enter Email Address in the Column 3 Label field and select Text as the field type.
- Enter Phone Number in the Column 4 Label field and select Text as the field type.
- Enter Call Description in the Column 5 Label field and select Long Text as the field type.
- Save your changes to the form.
- Now let's make the Email Address cell of the dynamic table enabled when the call type is Email. Click (Edit) for this text field type and expand Cell Condition.
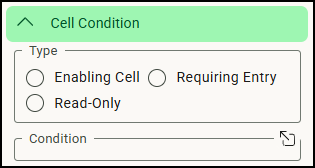
- From the Type field, select Enabling Cell. Click to open the Condition window.

- Click + to add the rule. Select Support_Log_Call_Type as the Field and is equal to as the Operator, Value as the Value Type, then Email as the Value.
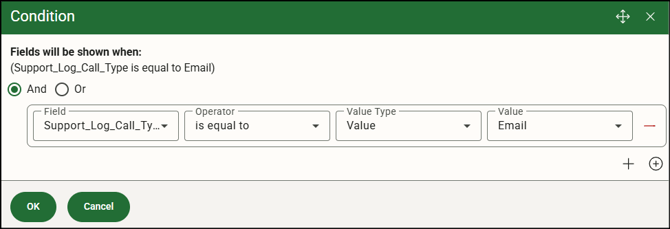
- Click OK to close the Condition window.
- Now let's make the Phone Number cell of the dynamic table enabled when the call type is Phone. Click (Edit) for this text field type and expand Cell Condition.
- From the Type field, select Enabling Cell. Click to open the Condition window.
- Click + to add the rule. Select Support_Log_Call_Type as the Field and is equal to as the Operator, Value as the Value Type, then Phone as the Value.
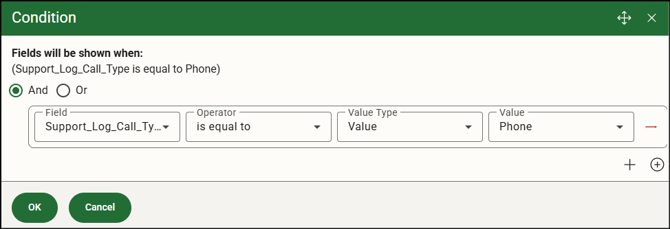
- Click OK to close the Condition window.
- Save the form.
- Now on the device, when a user selects a call type (in this example, Phone) the other call type's supporting field will be disabled (in this example, Email Address field).